Import ArcGIS Online/ESRI Data to Geodesignhub
This article explains how to import ArcGIS Online/ESRI data into your Geodesignhub project. To enable this functionality, you must add the “ESRI-Bridge v2” plugin through the administration panel.
Prerequisites
Your project must be “linked to ESRI” to use this functionality. You can link your project during creation or contact Geodesignhub support to link an existing project.
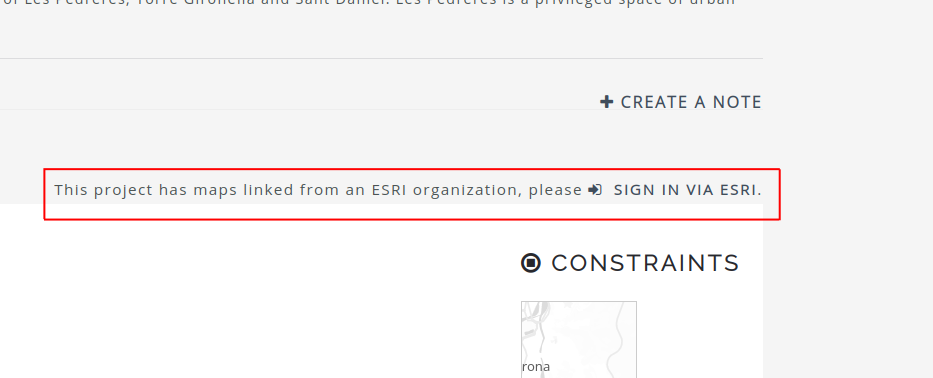
To verify your project is linked, look for this text at the top of your page: “This project has maps linked from an ESRI organization”
Getting Started
Sign in to ESRI ArcGIS Online
At the top of your Geodesignhub project, you’ll see a link to sign in to ESRI:
Enter ESRI Credentials
Click the link to open a new window that redirects you to arcgis.com with a login screen. Enter your ESRI/ArcGIS credentials here.

Preparing Your Data in ArcGIS Online
Currently, only Geopackage and Feature Layer export is supported. This article covers Feature Layer import. For Geopackage import instructions, see the Geopackage import guide.
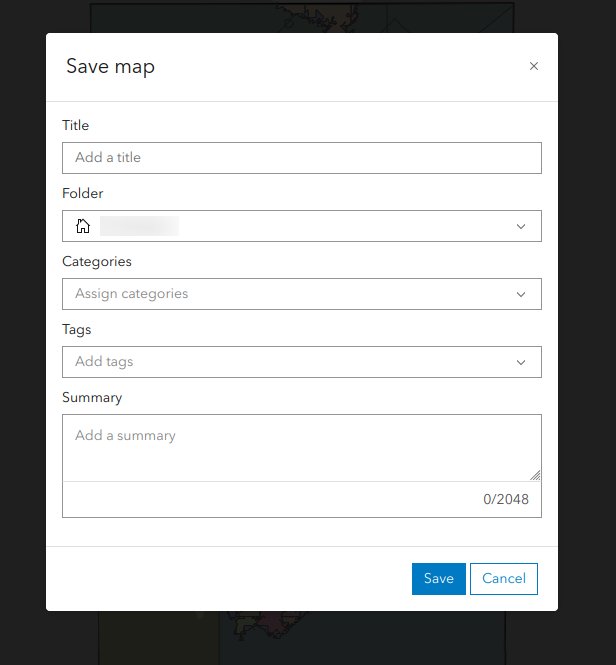
Step 1: Open Your Data Source
Select the Feature Layer you want to export in ArcGIS Online and open it in the ArcGIS Online mapviewer:
Press the “folder” icon to save it to your profile.
Step 2: Add Required Tag
A dialog will appear where you need to add a tag called migrate_to_geodesignhub to your item. This tag allows the bridge to identify and list the item for export.
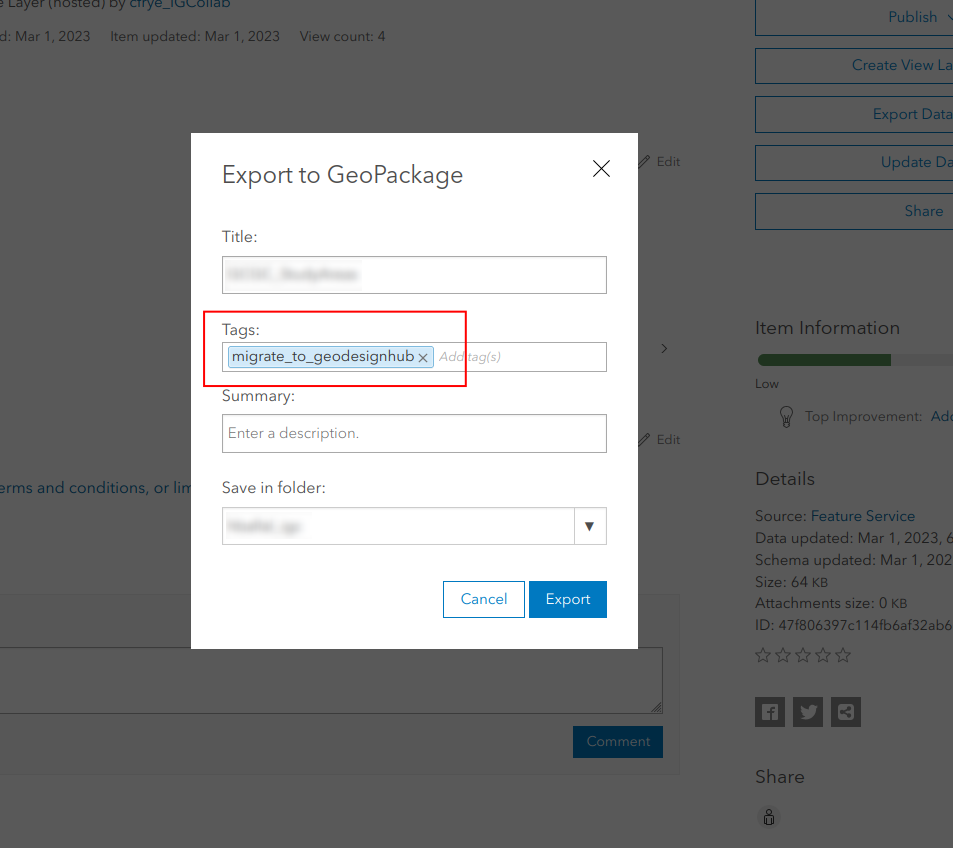
Once complete, your item will be available in your content library (not your organization’s library) for the bridge to export.
Importing Data
After entering your credentials, the pop-up window will close and you’ll be logged into the ESRI systems. Scroll down to the “All Diagrams” section of Geodesignhub:
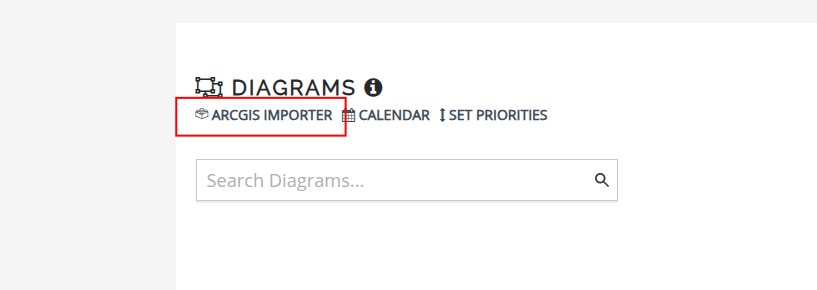
Import Screen
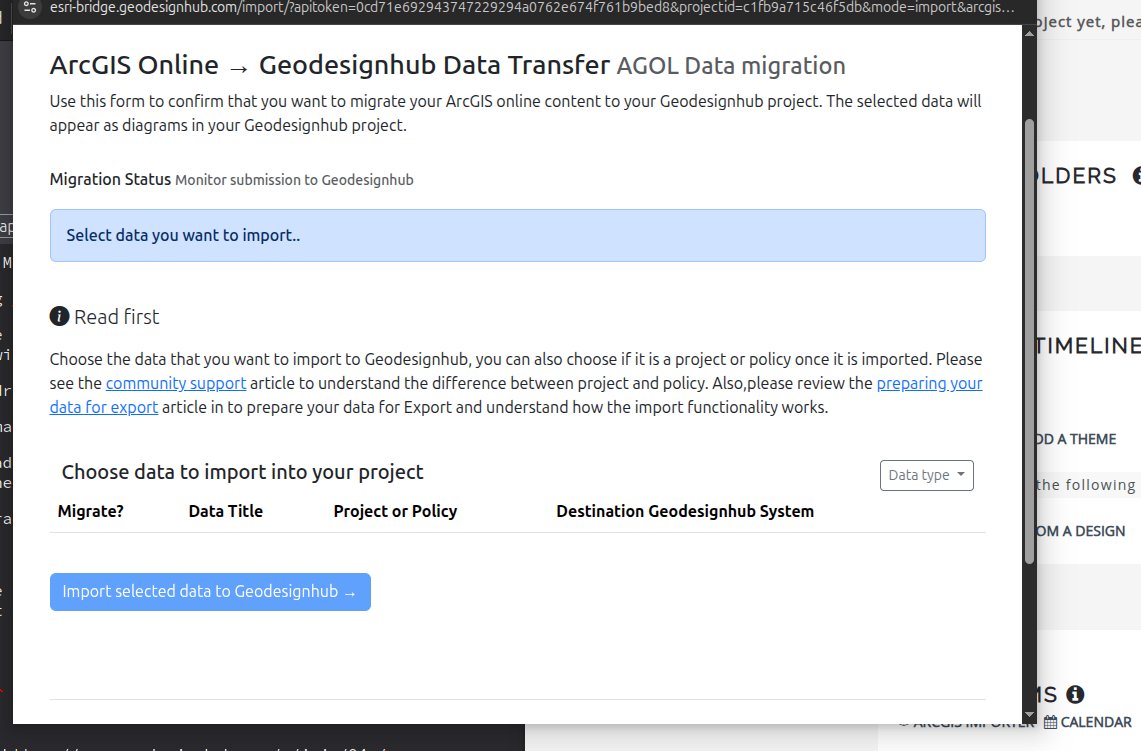
Click the import data button to open a new pop-up where you can:
- Confirm the items you want to import
- Select the target Geodesignhub system
- Choose whether the imported data will be classified as a project or a policy
Initially, the bridge shows data available as Geopackage:
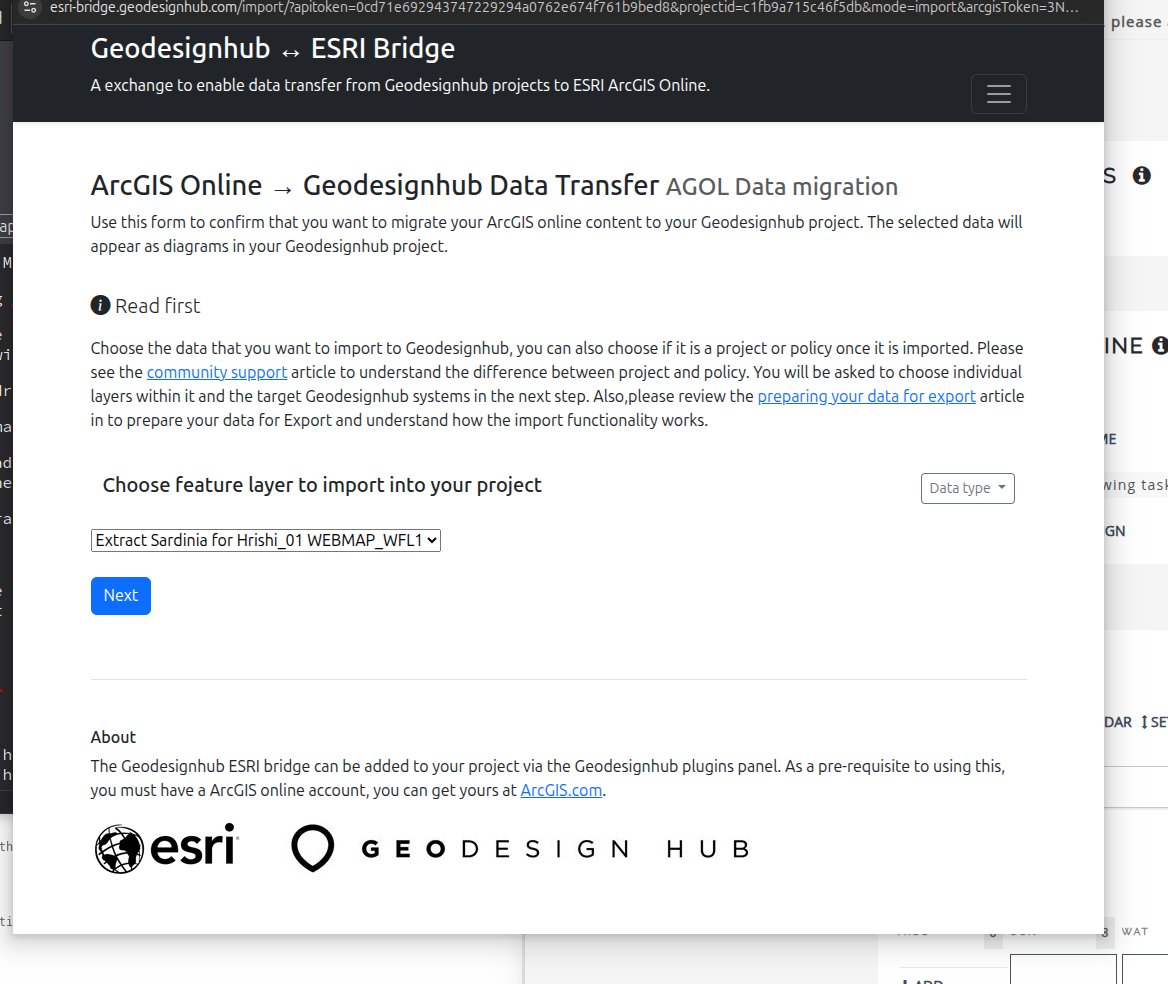
Selecting Feature Services
Select “data type” view to choose Feature service. We anticipate supporting additional data types in future versions of the ESRI Bridge.

Available feature services appear in the dropdown. You can select only one feature service at a time for imports. To make data unavailable for import, remove the “migrate_to_geodesignhub” tag from the item in ArcGIS Online.
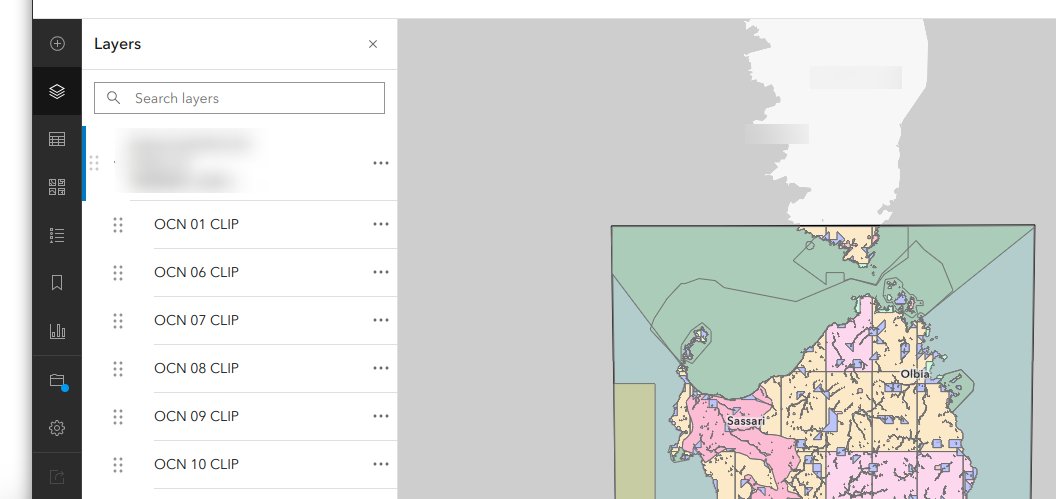
Selecting Layers
A feature service can contain multiple layers. Once you select a feature service, the bridge queries to retrieve the layers and displays them as a list for selection:

These layers are available for import into Geodesignhub projects. You can select the target system and specify whether it’s a project or policy:
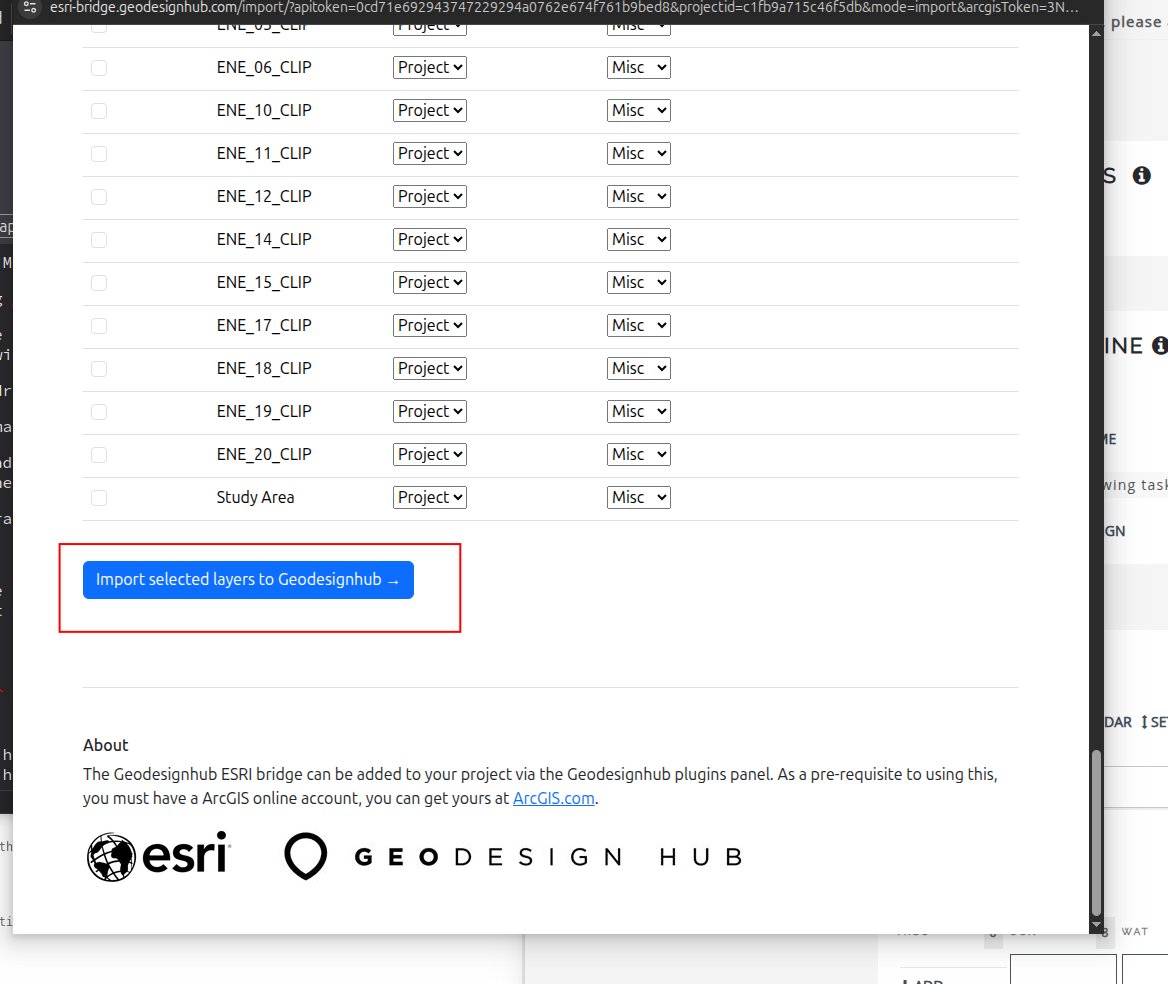
After pressing the “Import to Geodesignhub” button, the migration may take some time, but the data will eventually appear in your Geodesignhub project.
Frequently Asked Questions
Q: I don’t see my Feature Layer for import
A: The Feature Layer must be copied to your ArcGIS profile (not your organization’s) to be visible to the bridge. Additionally, there should be a tag called “migrate_to_geodesignhub” on your Feature Layer.
Q: Participants in the Geodesignhub project don’t see the data
A: For participants to see your ArcGIS Online data, they must be part of the ArcGIS Online organization, and you should make the feature layer available to everyone in the organization.