Adding external data is extremely useful in a design activity. For e.g., critical areas, transportation plans, existing land use, slope information, etc. can act as design aids. Geodesignhub recommends a maximum of ten or fifteen map layers for each project. Normally,
Two basemap layers and five overlay layers can be added and are sufficient. We recommend the following set:
Basemaps
- Geodesignhub default black and white
- A satellite / air photo of the study area
Overlays
- Existing Roads
- Existing water bodies
- Protected Zones
- Landuse / Landcover
- Cultural sites / Landmarks
Usually these files are stored on external servers and linked in to Geodeisgnhub using a couple of methods. Linking external files means that you need to have a external server with the ability to serve WMS, WFS or XYZ files. If you cannot host this data, we provide this service as a addon. Once you have uploaded this data to a external geo-server, you will then have to link that to a Geodesignhub project. Following are the instructions.
-
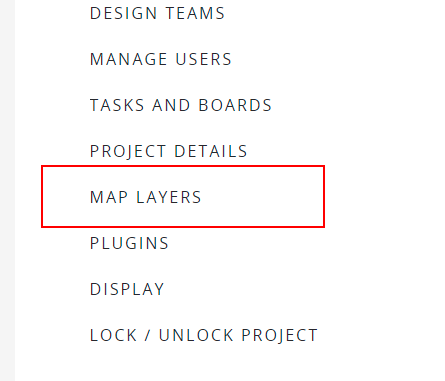
In the “Project Administration” / “Project Home” page, click on the External Layers section.
-
In the External Layers section, you can add three types of external layers: XYZ Tilelayers, WMS maps or map / data layers from ESRI ArcGIS Servers.
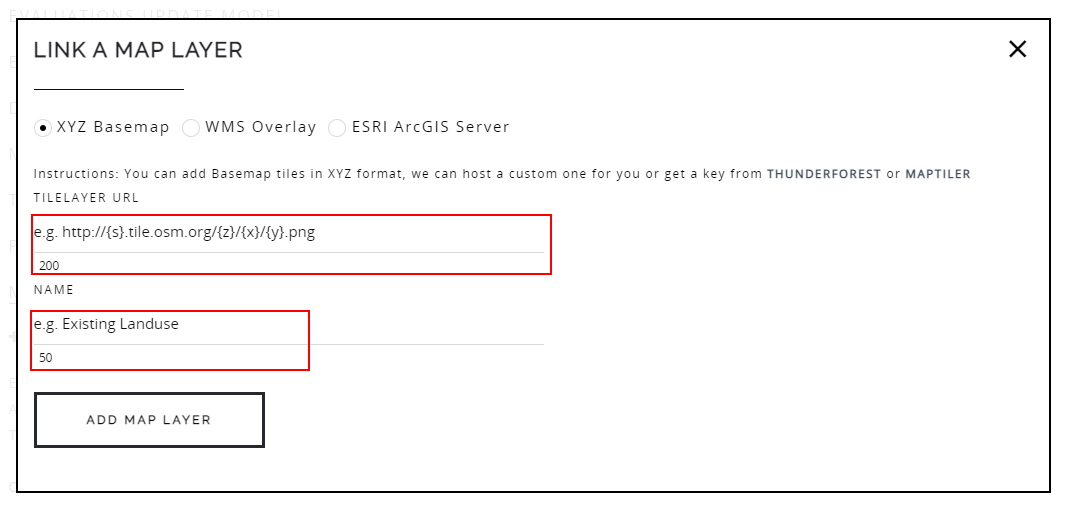
Add XYZ Raster Basemap
XYZ are normally added as basemaps, and can be added from various providers e.g. Maptiler or Thunderforest among others.
For more information about how to add a Maptiler or Thunderforest layer, see the specific instructions below:
- Add a Maptiler layer to your project
- Add a Thunderfroest layer to your project
Add WMS Basemap
Geodesignhub also supports adding WMS overlays from OGC compatible servers like Mapcentia GC2, Geoserver or Mapserver
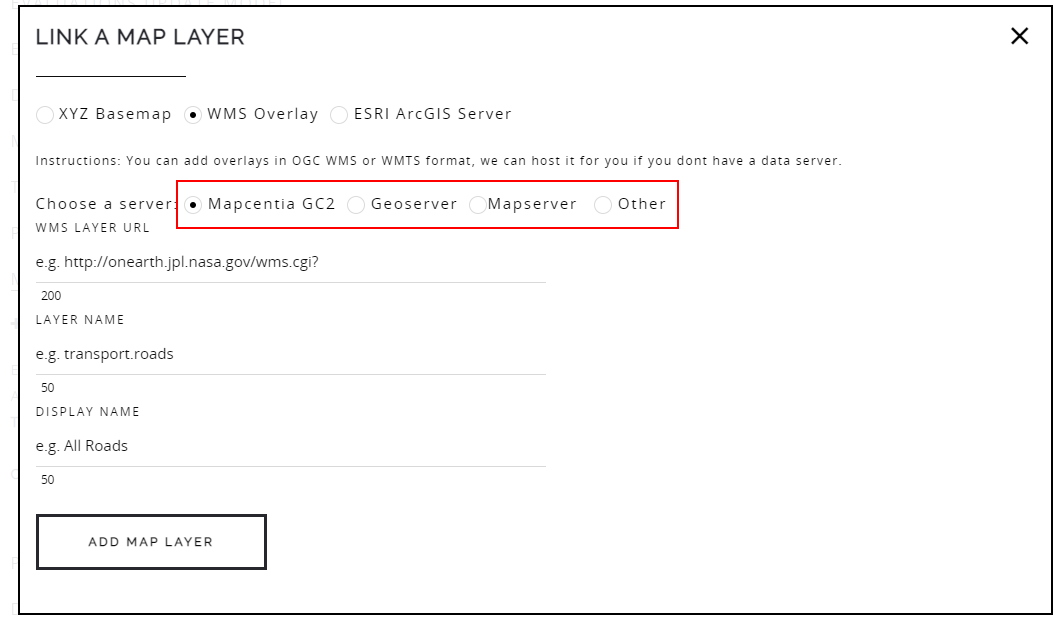
Normally, you will need to host a instance of these servers on your infrastructure, if you have it then you can link them here. Only
https endpoints are supported. Any server that supports WMS queries can be added via this method.
Adding data from ESRI ArcGIS Server
ESRI has different mechanisms to link your data. There are:
A. ESRI Basemaps and other data that can be uploaded via ArcGIS Developers
B. ESRI Overlays that are public
C. Data and maps only available to your ESRI ArcGIS organization.
Depending on your situation, you have different ways to add them.
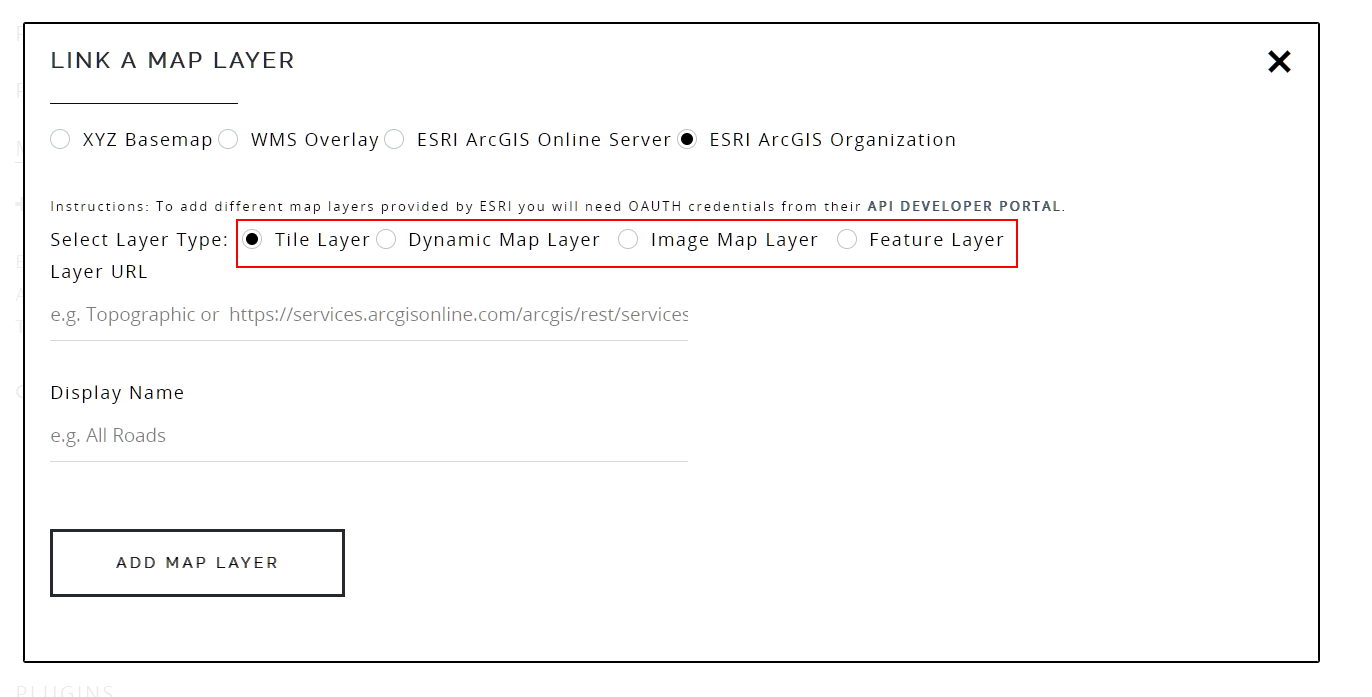
A. Adding ESRI Basemap and other data from ArcGIS Developers
You can add basemaps provided by ESRI ArcGIS as well by selecting the ArcGIS Server option.
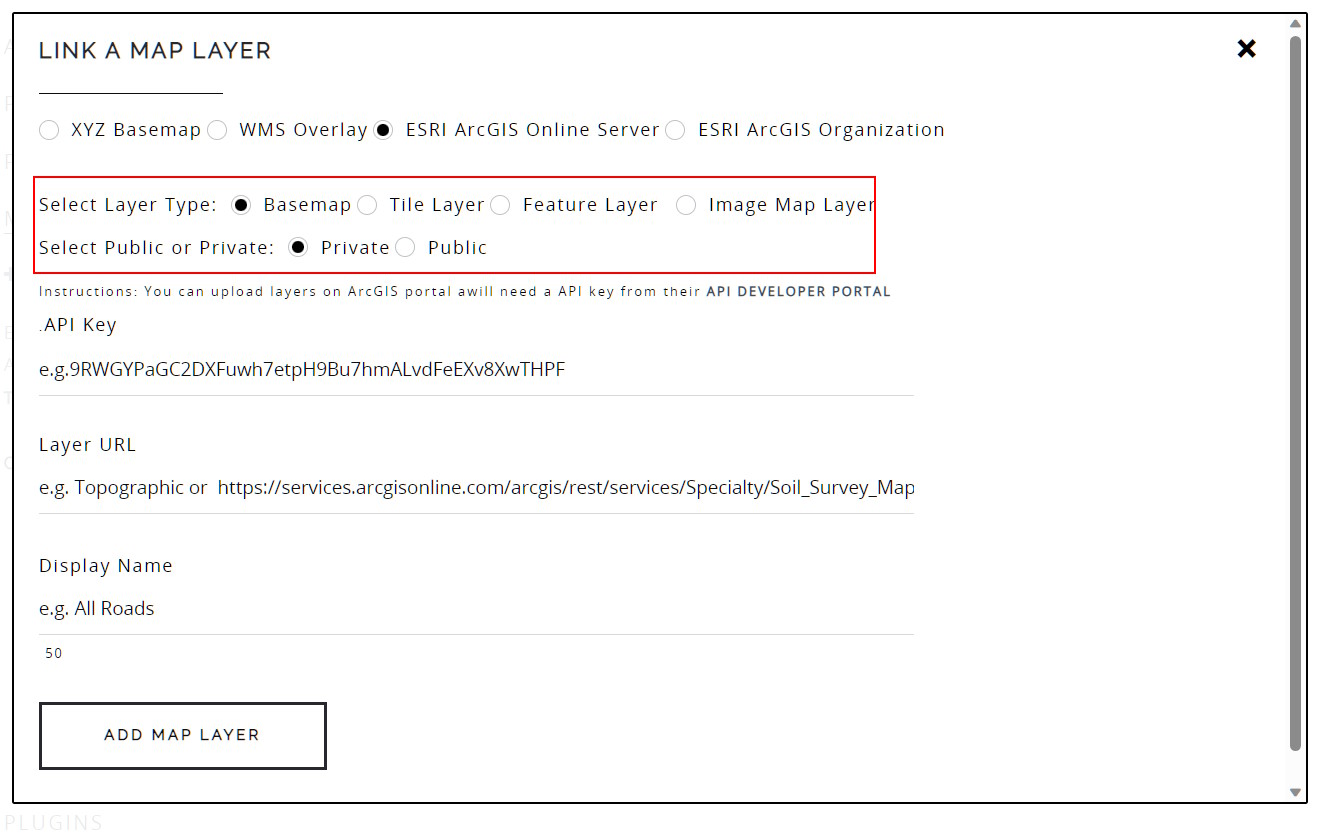
Once you have selected it, you can then input the API key and the layer that you want to add. ESRI provides a number of ways to add data. To add basemaps provided by ESRI, follow the instructions here:
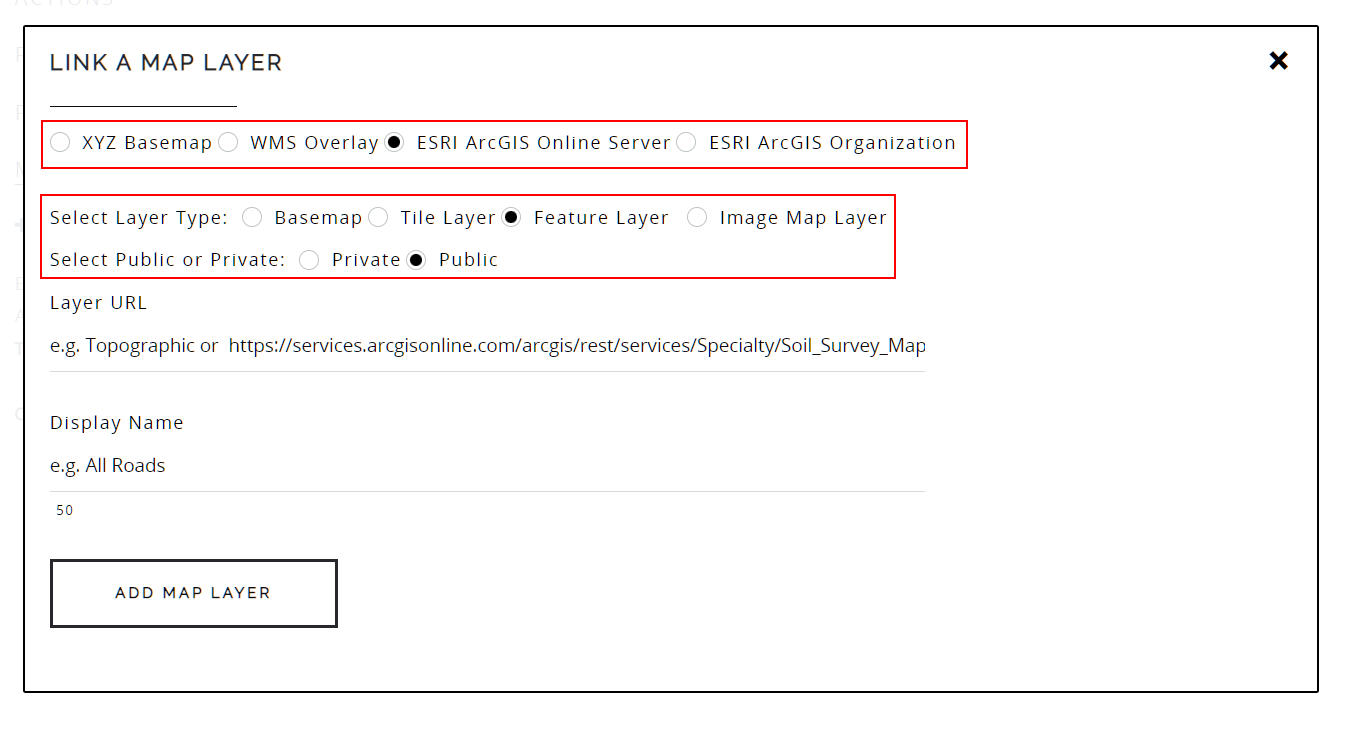
B. Adding Public ESRI Overlays
For public layers, no API Keys are required, just select “Public” in the selection box, the API Key will be removed.
C. Adding ESRI Overlays from ESRI ArcGIS Organization
NB: Your project has to be linked to an ESRI Organization first before using this feature.
When you want to use your layers from an ESRI ArcGIS Organization you can just copy-paste the service URL from the ESRI layer once you have logged in to the ESRI ArcGIS portal. You can also add a display name so that it is available in the map layers control.

Once these layers are added, they will appear on the geodesign page. The layer names are case sensitive and your server administrator should help you with it.