NB It is recommended that you do not change the project bounds once the project has started.
- If you are an administrator, you should see a series of panels that can be used to configure the project.
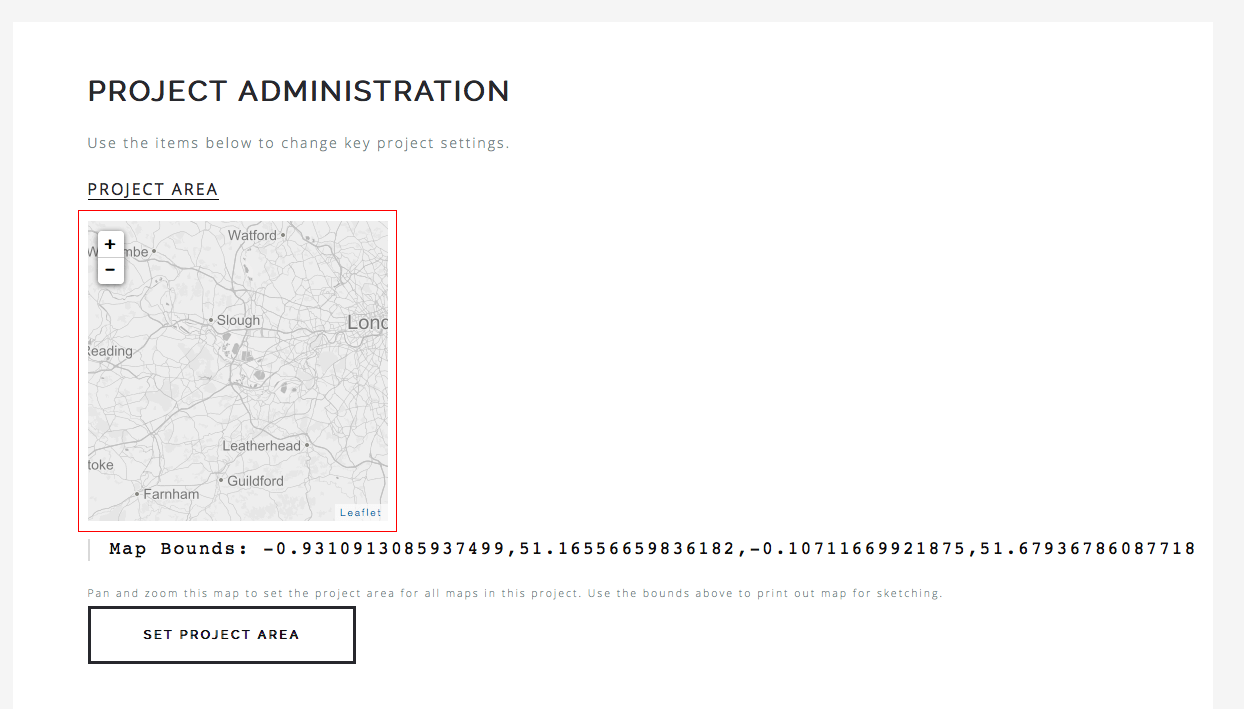
- Go to the “Project Area” panel.
- You will see a square map that can be panned within the square; it can also be zoomed in our out.
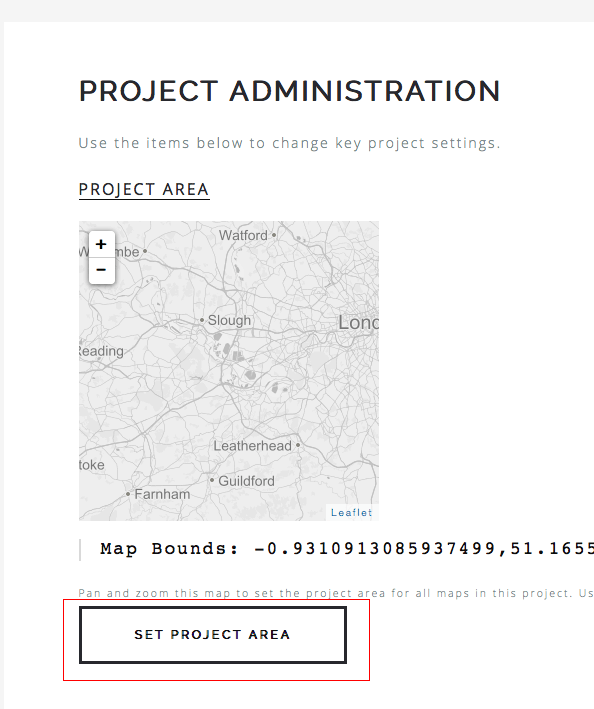
- Pan and zoom the map to include the study area as desired. Once satisfied, click on the set project area button to submit the new bounds.
- The project bounds have now been set, all the maps, diagrams in the grid will have been updated.