-
Go to your profile.

-
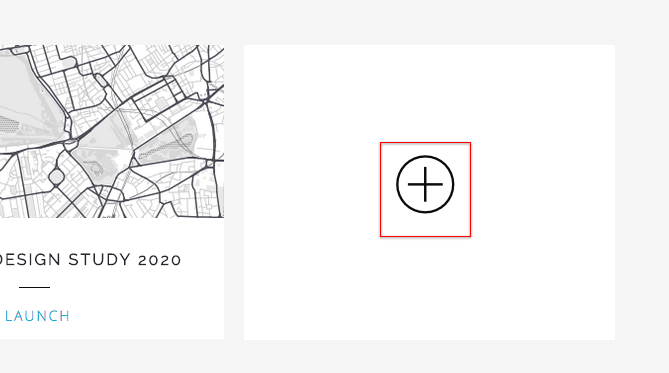
Click on the “+” button.
-
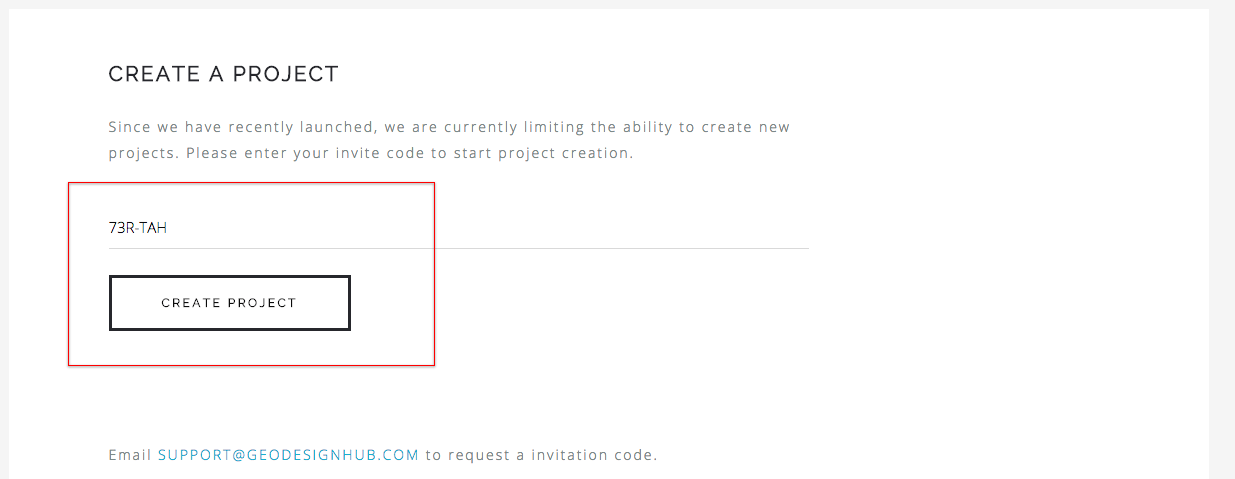
Enter your invite code (see instructions to get one) and click on “Create Project.”
-
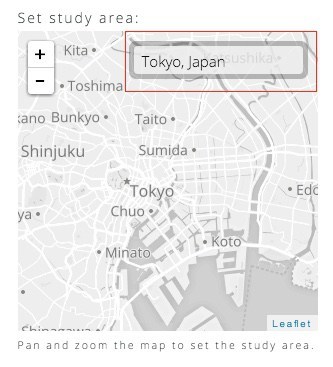
The next step is to set the study area for the project in the form of a square. The default is set to London, United Kingdom but you search for a city or town and pan directly to the location. You can then zoom and pan the map to set the exact square boundaries of your study area.
-
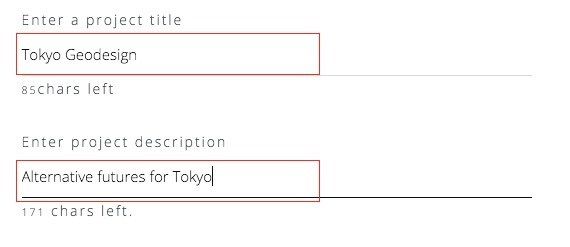
Give a name and a description for your project.
-
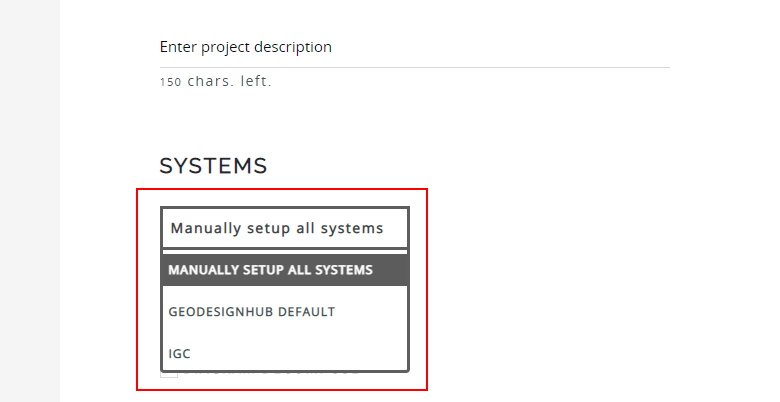
Select some systems. We provide a list of commonly used systems based on our experience, you can choose to add them to your project. Alternatively, you can create a empty project with no systems.
-
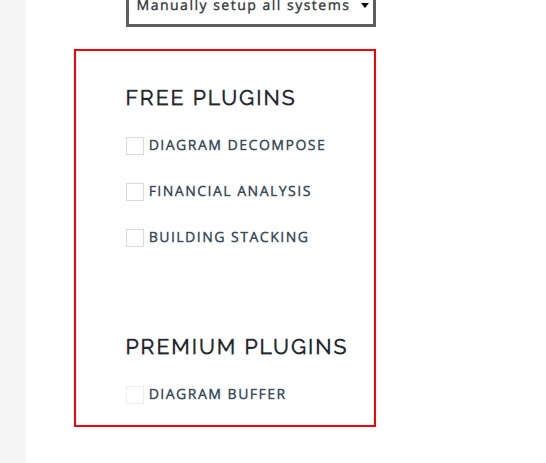
Add plugins to the project, there are some plugins that are free and for paid projects, you will get access to the premium plugins. If you want to change your plugin selection, you can change it later via the Administration Panel.
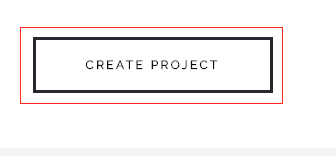
- Press the “Create Project” button. A new project will be created and will appear on your profile. You can review the Administration section to setup your project, change study area or add / rename systems or change system settings.