At the end of this process, we will have a GeoJSON file that can be directly uploaded to the tool. To begin with, you will need a shapefile that has polygons of boundaries (e.g. county boundaries, district boundary etc.), this article will demonstrate how to prepare the file for upload. Upto two boundaries can be added to a project.
-
Please review the projection used on the site, if the source data is of a different projection, we will re-project data at the end of this process.
-
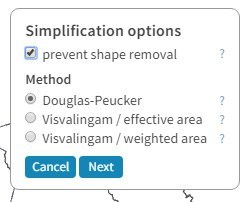
Most boundary files are complicated and it is recommended that boundary shapes be simplified. In this article we will show recommended settings for QGIS Simplipy plugin and MapShaper website. In both cases, it is recommended that the Douglas-Peucker algorithm be used to simplify the boundary data.
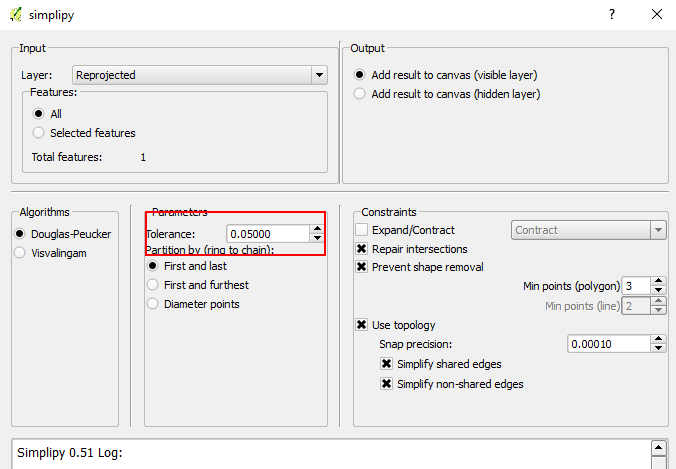
In Simplipy, set the tolerance to 0.05 for a file projected in WGS 1984 / EPSG 3857 projection, check the repair intersections, prevent shape removal and use topology 0.001 as below. For large regions, a setting of 0.05 is appropriate since it is roughly equal to 5.5 kilometers for smaller study areas, a smaller tolerance is more appropriate.
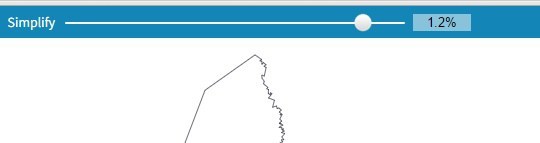
- In Mapshaper set the tolerance to 1.2% or lower
- Once the tolerance is set, the polygon boundaries would be simpler. The next step is to clear the attribute table.
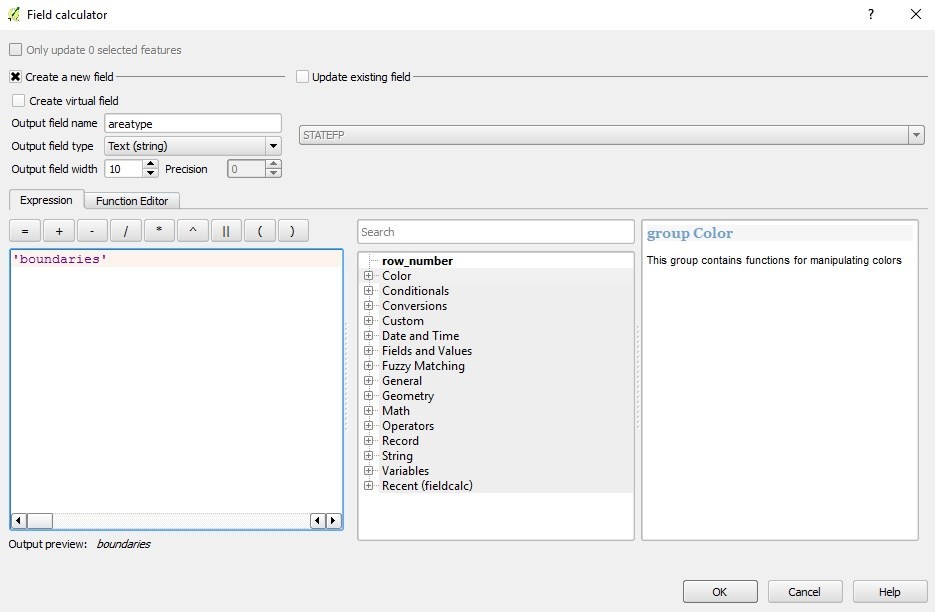
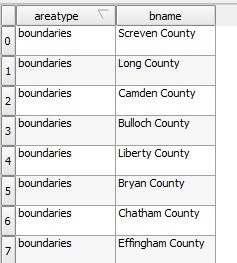
- In the simplified layer, create a new column called “areatype” and set the value as “boundaries”.
- Delete every other field in the attribute table so that only the “areatype” and “bname” field is left. In the bname field, enter a name for the boundary as is shown below.
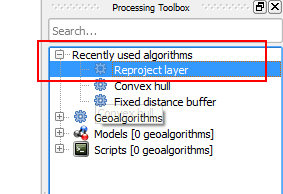
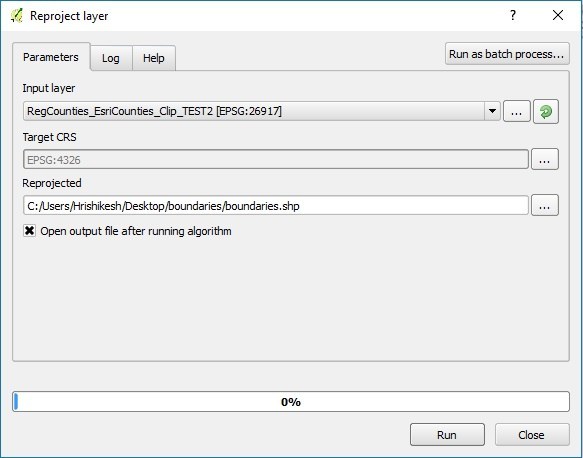
- Re-project the layer
- Reproject to EPSG 4326
9: Finally, save the Shapefile as GeoJSON.
Most boundary files should be less than 500kb in size, please review the file simplification topic for guidance on how to simplify files.
You can download a sample boundary file here